
DIY Pool Safety Cover Installation: A Step-by-Step Guide
2024-10-22
1. Gather Your Tools
Before starting, ensure you have all the necessary tools: a tape measure, drill, anchors, tensioning tools, and safety goggles. Having everything on hand will make the process smoother.
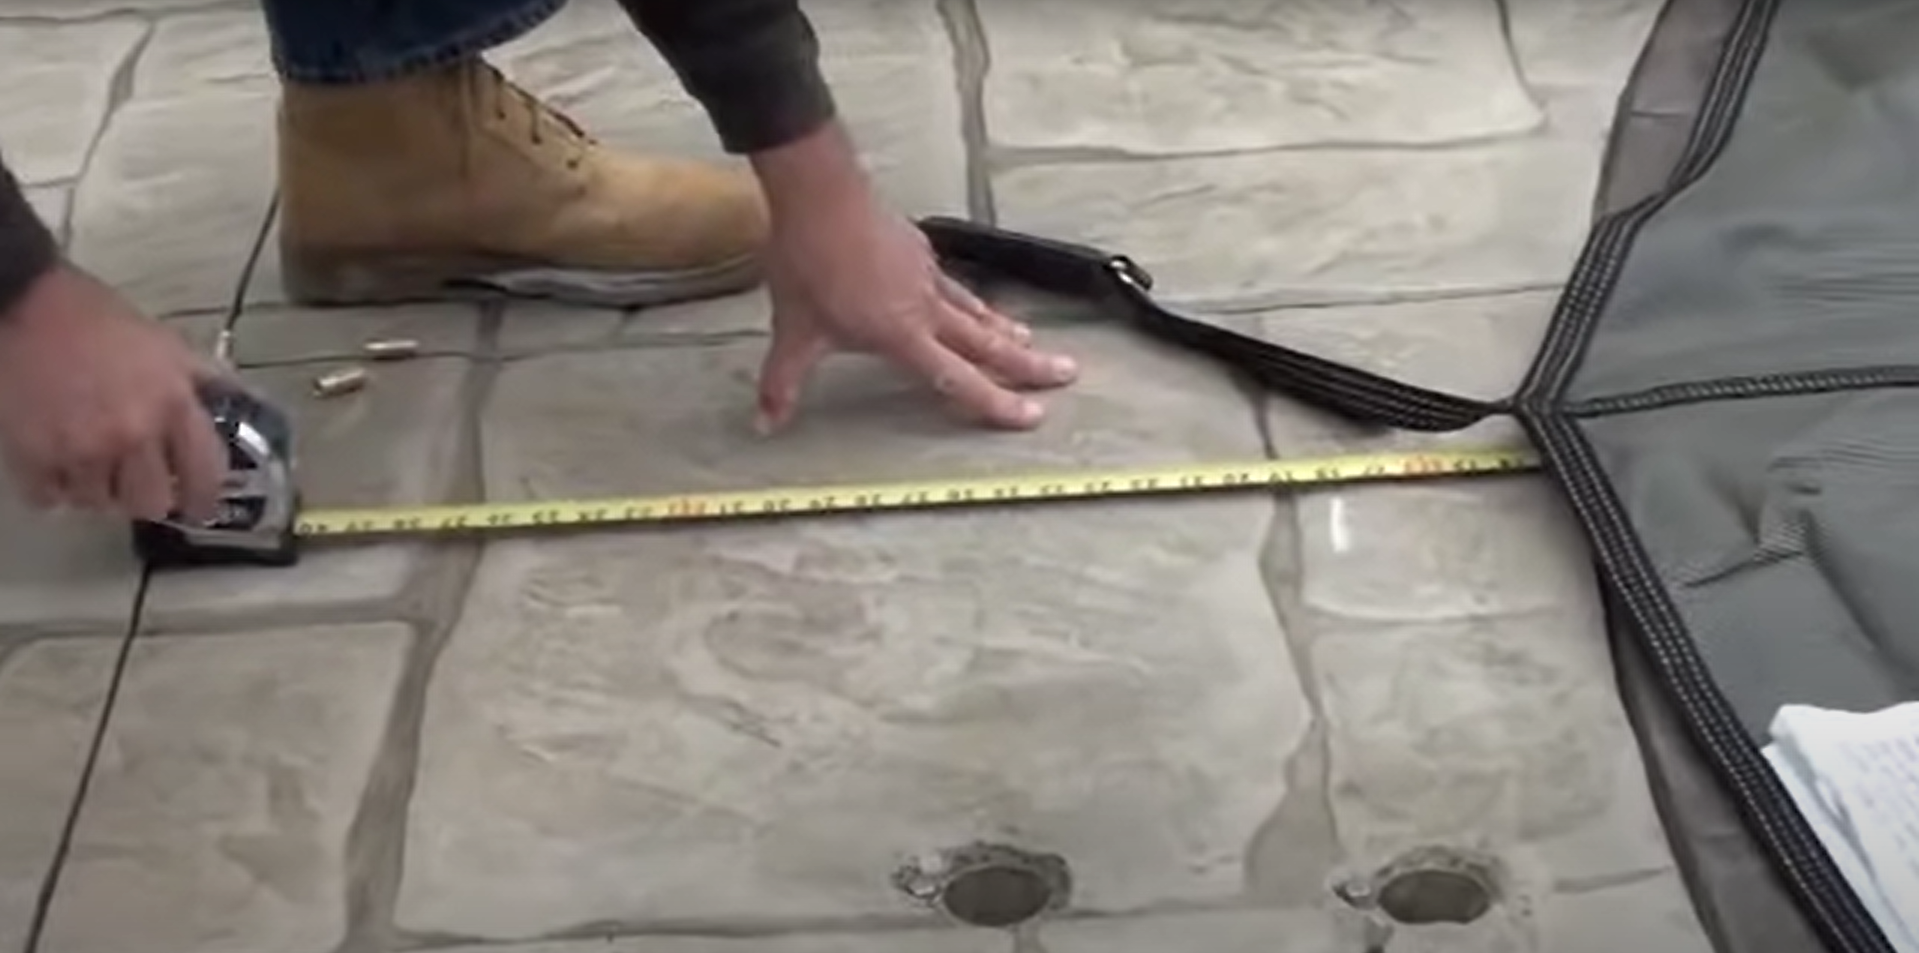
2. Measure Your Pool
Accurately measure the dimensions of your pool, including any steps or ledges. This will help you ensure that the cover fits perfectly and covers all necessary areas.
3. Prepare the Pool Area
Clear the pool area of any debris, leaves, or obstacles. A clean surface will ensure that the cover lies flat and functions effectively.
4. Install Anchors
Follow the manufacturer’s instructions to install anchors around the perimeter of the pool. Mark the positions carefully, ensuring they are evenly spaced for optimal support.
5. Lay Out the Cover
Unroll the pool safety cover and lay it over the pool, aligning it with the anchors. Ensure that the cover is centered and that all edges are properly positioned.
6. Attach the Cover to Anchors
Secure the cover to the installed anchors using the provided tensioning system. Make sure the cover is taut but not overly tight, allowing for some flexibility.
7. Check for Proper Fit
Inspect the cover to ensure it fits snugly over the pool, with no gaps or areas where debris could enter. A proper fit is crucial for safety and effectiveness.
8. Final Adjustments
Make any necessary adjustments to ensure the cover is evenly distributed. Tighten any loose areas and double-check that all anchors are securely fastened.
9. Maintenance Tips
Once installed, periodically check the cover for any signs of wear and tear. Regular maintenance will prolong the life of your cover and ensure continued safety.
Conclusion: Enjoy Peace of Mind
With your pool safety cover securely installed, you can relax knowing that your pool is protected. At JTW, we provide high-quality covers designed for ease of installation and maximum safety.